
Have you ever updated your Android device only to find it plagued with bugs, performance issues, or features you dislike? Perhaps a new update has rendered your favorite app incompatible, or your battery life has taken a nosedive. If so, you’re not alone. While Android updates generally bring improvements, they can occasionally introduce problems. This guide provides a comprehensive, step-by-step approach to downgrading your Android device to a previous version, restoring its former functionality and stability. Learn how to navigate the process safely and efficiently, regaining control over your Android experience. This involves understanding the risks and precautions associated with downgrading, and ensuring you have the necessary tools and knowledge before you proceed.
Downgrading Android is a powerful technique, but it’s not without its challenges. It’s crucial to understand the potential risks and take the necessary precautions to safeguard your data and device. This guide will not only provide a clear, detailed walkthrough of the downgrading process itself, but also thoroughly address the essential preparations and safeguards. Whether you’re grappling with a buggy update, seeking to restore lost features, or simply yearning for the familiarity of an older Android version, this guide empowers you to confidently revert your device to its optimal state. From backing up your data to understanding the nuances of different Android devices, we’ll equip you with the knowledge you need to downgrade successfully and safely.
Understanding the Risks and Benefits of Downgrading
Downgrading your Android version can be tempting for various reasons, but it’s crucial to weigh the potential risks and benefits before proceeding. Downgrading is inherently risky and could permanently damage your device.
Potential Benefits:
- Improved performance on older hardware if newer updates are too demanding.
- Restoring preferred features or UI elements removed in later updates.
- Resolving compatibility issues with specific apps.
Potential Risks:
- Data loss: Downgrading almost always requires a factory reset, wiping all data on your device. Back up everything before proceeding.
- Bricking your device: Incorrect procedures can render your device unusable.
- Voiding your warranty: Some manufacturers void warranties if you downgrade.
- Security vulnerabilities: Older Android versions may have known security flaws.
- App incompatibility: Some apps may not function correctly on older Android versions.
Carefully consider these factors before attempting a downgrade. If unsure, consult your device manufacturer’s documentation or support channels.
Backing Up Your Data Before Downgrading Your Device
Before you begin the downgrading process, it is crucial to back up your data. Downgrading often wipes your device clean, resulting in complete data loss. Creating a backup ensures you can restore your important information after the downgrade is complete.
There are several ways to back up your Android device:
- Cloud Backup: Most Android devices offer a cloud backup service, often linked to your Google account. This typically backs up system settings, apps, and app data.
- Local Backup: You can connect your device to a computer and back up your files manually. This is a good option for backing up photos, videos, and music.
- Manufacturer Specific Tools: Some manufacturers provide their own backup tools and software. Check your manufacturer’s website for more information.
Ensure your chosen backup method is complete before proceeding with the downgrade. Verify the backup’s integrity by checking the date and size. A recent and appropriately sized backup indicates a successful operation.
Different Methods to Downgrade Your Android Version
Several methods exist for downgrading your Android version, each with varying levels of complexity and risk. The appropriate method depends largely on your device manufacturer, model, and the specific Android version you’re targeting.
Using the manufacturer’s official method is generally the safest approach. Some manufacturers provide official tools or instructions for reverting to older firmware versions. Check your manufacturer’s support website or forums for specific guidance.
Using custom ROMs offers more flexibility, particularly for older devices or those no longer supported by the manufacturer. This involves unlocking your bootloader and flashing a custom ROM designed for your specific device and the desired Android version. This method is generally more advanced and carries higher risks, including potential data loss or bricking your device.
Restoring a previous backup can be a straightforward approach if you created a backup before upgrading to a newer Android version. This method reinstates your device to the state it was in when the backup was created. However, it’s crucial to have a recent and complete backup before attempting this method.
Step-by-Step Downgrading Process for Various Android Devices
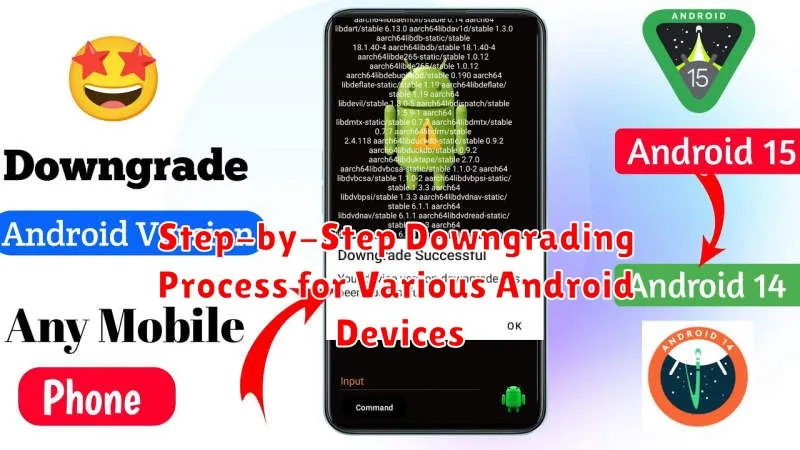
Downgrading processes vary significantly depending on the device manufacturer and model. It’s crucial to follow device-specific instructions to avoid irreversible damage.
General Steps (Consult your device’s specific guide):
- Unlock the Bootloader: This usually involves enabling developer options and using platform tools. This step carries risks and may void your warranty.
- Download the Correct Factory Image: Obtaining the correct factory image for your specific device and target Android version is essential. Downloading the wrong image can brick your device.
- Install the Android SDK Platform Tools: These tools are needed to communicate with your device and flash the factory image.
- Put Your Device into Recovery Mode: The key combination to enter recovery mode varies between devices.
- Connect Your Device to Your Computer: Use a USB cable to connect your device to your computer.
- Flash the Factory Image: This involves using commands within the platform tools to install the downloaded factory image onto your device. This process may take some time.
Manufacturer Specific Instructions:
- Google Pixel devices: Google provides factory images and detailed instructions on their developer website.
- Samsung devices: Samsung’s process often involves using their Odin software.
- Other manufacturers: Consult your manufacturer’s website or support forums for specific instructions.
Note: This is a simplified overview. Always consult device-specific guides for detailed steps and precautions.
Troubleshooting Common Downgrading Issues
Downgrading your Android can sometimes encounter issues. Here’s a troubleshooting guide for common problems:
Device Not Recognized by Computer
Ensure you have the correct USB drivers installed for your device. Try a different USB cable or port. Verify USB debugging is enabled in developer options.
Firmware Flashing Interrupted
This can brick your device. Ensure a stable power source during the process. Avoid interrupting the process. If interrupted, you may need advanced recovery tools.
Boot Loop After Downgrade
A boot loop (device constantly restarts) can indicate incompatibility. Double-check firmware compatibility with your specific device model. A factory reset might resolve this but will erase all data.
Error Messages During the Process
Carefully read error messages. Research the specific error online for solutions. Consulting device-specific forums can be helpful.
Restoring Your Data After the Downgrade Process
Downgrading Android often leads to data loss. Therefore, backing up your data before initiating the downgrade is crucial.
Once the downgrade is complete, you can restore your data. The most common restoration method involves using your Google account. Most Android devices are linked to a Google account, which automatically backs up data like contacts, calendar events, and app data.
To restore this data, simply sign in to your Google account on your downgraded device. The system will then prompt you to restore your backed-up information. You can choose which data to restore, offering you flexibility in the process.
For other data like photos, videos, and music, you can restore from a local backup if you created one. This often involves copying files from your computer or an external storage device back onto your phone.
Remember that restoring app data from a newer Android version to a downgraded version might cause compatibility issues. Some apps may not function correctly or may crash altogether. In such cases, reinstalling the app from the Google Play Store, specifically the version compatible with your downgraded Android OS, is often the best solution.
Tips to Avoid Problems After Downgrading
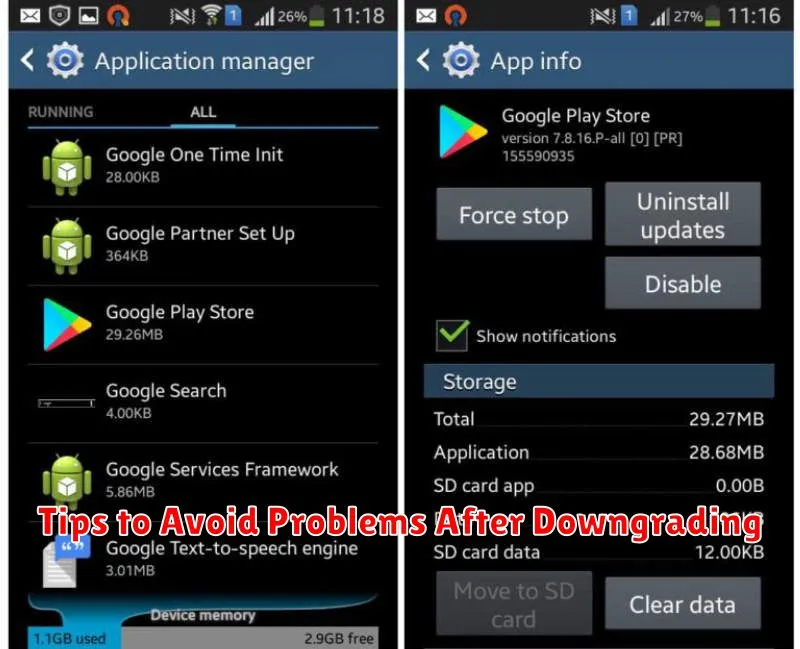
After downgrading your Android version, taking a few precautions can help you avoid potential issues. First, thoroughly test core functionalities like calling, messaging, and data connectivity. This helps identify any immediate problems. Second, monitor battery performance for a few days. Downgrading can sometimes impact battery life, so observing any significant changes is important.
Third, be mindful of app compatibility. While most apps should function, some designed for newer Android versions might experience issues. Check for updates or consider alternatives if necessary. Finally, avoid immediately installing a large number of apps. Staggering installations allows you to isolate any app-specific problems that might arise due to the downgrade.