Inserting a memory card correctly is crucial for expanding storage capacity in various devices, from cameras and smartphones to laptops and gaming consoles. Whether you’re working with an SD card, microSD card, or another format, understanding the proper insertion technique is essential to avoid damage and ensure optimal performance. This step-by-step guide will provide clear instructions on how to insert a memory card into a range of devices, addressing common questions and potential issues. Learning how to insert a memory card correctly will empower you to maximize your device’s storage potential and seamlessly manage your data.
This guide will cover memory card insertion for a variety of device types, including digital cameras, smartphones, tablets, laptops, and gaming systems. We will explore the nuances of different memory card formats, such as SD cards, microSD cards, and others, to provide a comprehensive understanding of the process. By following these step-by-step instructions, you can confidently and safely insert a memory card, ensuring proper functionality and preventing potential damage to both the card and your device. From identifying the correct slot to understanding the orientation and clicking the card into place, we’ll cover every detail to make the process straightforward and accessible to all users, regardless of their technical expertise.
Identifying the Memory Card Slot
Locating the memory card slot is the first crucial step. Its location varies depending on the device. Carefully examine your device for a small, slot-shaped opening, often labeled with an SD card icon or similar marking.
Common Locations:
- Smartphones and Tablets: Often on the side or top edge, sometimes behind a small cover or tray.
- Laptops: Usually on the side, occasionally on the front.
- Digital Cameras: Typically on the side or bottom, often behind a protective door.
- Game Consoles: Can vary greatly; consult your device’s manual for the precise location.
If you are having difficulty locating the slot, refer to your device’s user manual. It will provide a clear diagram or description of the memory card slot’s location.
Preparing the Memory Card for Insertion
Before inserting your memory card, it’s crucial to prepare it properly to prevent data corruption or damage to the card or device. First, ensure the memory card is free of visible dust or debris. Gently wipe the card’s metal contacts with a clean, dry, lint-free cloth if necessary.
Next, check the orientation of the memory card. Look for a notch or a beveled edge, which indicates the correct insertion direction. Familiarize yourself with this as forcing the card in incorrectly can cause irreversible damage.
If you’re using a new memory card, it might need to be formatted. While some devices format the card automatically upon insertion, others require manual formatting. Consult your device’s user manual to determine whether pre-formatting is necessary. Remember, formatting erases all data on the card, so back up any existing files beforehand if reusing a card.
Finally, handle the memory card with care. Avoid touching the metal contacts and hold the card by its edges. Static electricity can potentially damage the card, so minimize contact as much as possible.
Correctly Inserting the Memory Card

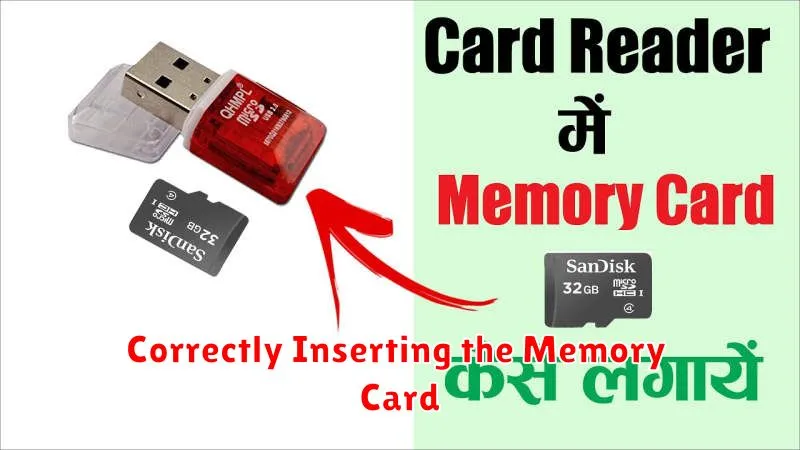
Once you’ve located the memory card slot and prepared your card, the next step is proper insertion. Orientation is key. Look for an indicator, usually a small diagram or notch, on both the card and the slot. Align these markings to ensure the card is inserted in the correct direction.
Gently slide the memory card into the slot. You should feel slight resistance, and in most cases, a soft click will indicate the card is securely in place. Avoid forcing the card; if it doesn’t insert smoothly, double-check the orientation. Different devices have different insertion mechanisms. Some may require you to push the card until it clicks, while others might have a spring-loaded mechanism.
For SD cards in some devices, the card needs to be pushed in until it clicks, then it might spring slightly outwards. This is normal. For microSD cards, pay particular attention to the delicate size and ensure proper alignment. Sometimes, these smaller cards are inserted into an adapter, which is then inserted into the larger SD card slot.
Verifying Memory Card Installation
Once you’ve inserted the memory card, it’s crucial to verify that your device recognizes it. The verification process varies depending on the device. Here’s a general guide:
For cameras: Most cameras display a memory card icon on the screen once the card is successfully inserted. You might also see information about the available storage space on the card.
For smartphones and tablets: Check the notification panel for a memory card notification. You can typically access the memory card’s contents through a file manager app.
For computers: If you’re using a card reader, your computer should automatically detect the memory card. Look for the new drive letter assigned to the memory card in your file explorer.
For other devices (e.g., game consoles, music players): Consult the device’s user manual for specific instructions on verifying memory card installation. These devices often display an on-screen message confirming successful installation.
If your device doesn’t recognize the memory card, safely remove it and try reinserting it. Ensure it’s fully inserted and properly oriented.
Troubleshooting Memory Card Errors
Occasionally, you might encounter issues when using a memory card. This section outlines common problems and their solutions.
“Card Not Read” or “Card Error” Message
If your device displays a “Card Not Read” or similar error message, try the following:
- Reinsert the card: Ensure it’s correctly seated in the slot.
- Try a different device: This helps determine if the issue is with the card or the device.
- Clean the card’s contacts: Gently wipe the metallic contacts with a soft, dry cloth.
“Card Full” Error
If you receive a “Card Full” message, you’ll need to free up space:
- Delete unnecessary files: Remove photos, videos, or other data you no longer need.
- Transfer files to another storage device: Move data to a computer or another memory card.
“Write-Protected” Error
A write-protected error prevents you from saving new data to the card. Check for a physical write-protect switch on the card and ensure it’s in the unlocked position. If there’s no switch or it’s already unlocked, the card may be corrupted.
Formatting the Memory Card (if necessary)
Sometimes, a memory card may need formatting before it can be used with a specific device. Formatting erases all data on the card, so back up any important files beforehand. The formatting process differs slightly depending on the device.
Formatting on a Computer: Most operating systems have built-in utilities for formatting memory cards. Typically, you insert the card, locate it in the file manager, right-click, and select the “Format” option. Choose the correct file system (e.g., FAT32, exFAT) for your device’s compatibility.
Formatting on a Camera/Device: Many cameras and other devices offer a formatting option within their settings menus. Consult your device’s user manual for the precise steps. This method ensures compatibility with the device.
Safely Removing the Memory Card

Improper removal can damage your memory card and corrupt data. Follow these steps to safely eject your card.
For Cameras and Similar Devices:
Most cameras have a specific “eject” or “release” mechanism. Consult your device’s manual for the precise procedure. Generally, you’ll find a button or switch that unlocks the card. Gently remove the card once it’s released.
For Computers (Windows, macOS, Linux):
Before removing a memory card from a computer, you must safely eject it through the operating system. This tells the computer to finish any ongoing operations and prepares the card for removal.
- Windows: Locate the “Safely Remove Hardware” icon in the system tray (notification area). Click the icon and select the memory card you want to eject.
- macOS: Drag the memory card icon from the desktop to the Trash. The icon will change to an eject symbol.
- Linux: The process varies by distribution but usually involves right-clicking the memory card icon and selecting “Eject” or “Unmount.”
Once the system confirms it’s safe, you can physically remove the card.

