
Are you ready to truly harness the power of your Android device? Unlocking your bootloader opens a world of possibilities, giving you unparalleled control and customization options. This bootloader unlocking guide provides a step-by-step approach to freeing your device from its factory restrictions, allowing you to install custom ROMs, kernels, and other modifications to truly personalize your Android experience. Learn how to unlock the bootloader on your Android phone and take advantage of the full potential of your hardware. From rooting to flashing custom recoveries, bootloader unlocking is the essential first step. This guide will cover the necessary precautions, required tools, and the detailed process involved in unlocking the bootloader, ensuring a safe and successful experience.
This comprehensive guide is designed for users of all levels, from novice Android enthusiasts to seasoned tweakers. We’ll break down the complexities of bootloader unlocking into easily digestible steps, explaining the technical terms and procedures in clear, concise language. Whether you’re aiming to boost performance, enhance privacy, or simply explore the vast world of Android customization, this step-by-step guide empowers you to take control of your device’s destiny. Before you proceed, it’s important to understand the risks and benefits associated with bootloader unlocking. This guide will address these considerations to help you make an informed decision before embarking on this exciting journey. Prepare to unlock your Android’s potential and transform your device into the ultimate personalized powerhouse.
Understanding Bootloader and Its Purpose
The bootloader is a critical piece of software that starts up your Android device before the operating system loads. Think of it as a small program that instructs the hardware what to do initially.
Its primary purpose is to initialize the hardware components and then load the operating system kernel. This ensures a smooth startup process every time you power on your device.
The bootloader typically verifies the integrity of the operating system to prevent unauthorized modifications. This is often referred to as a “locked” bootloader. Unlocking it allows you to install custom operating systems or modified versions of Android, commonly known as ROMs.
In essence, the bootloader is the gatekeeper to your device’s core software, determining what’s allowed to run.
Risks and Benefits of Unlocking the Bootloader
Unlocking your bootloader offers both exciting possibilities and potential downsides. It’s crucial to weigh these carefully before proceeding.
Benefits
Increased Customization: Unlocking allows installation of custom ROMs, kernels, and other modifications, granting significant control over your device’s appearance and performance. Rooting Access: An unlocked bootloader is often a prerequisite for rooting, which provides access to system-level files and functionalities.
Risks
Voiding Warranty: Unlocking often voids your device’s warranty. Data Loss: The unlocking process usually requires a factory reset, wiping all data on your device. Security Risks: An unlocked bootloader can make your device more vulnerable to security threats if not handled carefully. Bricking: While rare, errors during the unlocking process can potentially “brick” your device, rendering it unusable.
Preparing Your Android Device for Unlocking
Before initiating the unlock process, crucial preparatory steps must be taken. Backing up your data is paramount, as unlocking the bootloader typically wipes your device clean. This includes photos, videos, contacts, and any other important files. Utilize your preferred backup method, whether it’s cloud storage, a computer, or an external storage device.
Next, enable Developer Options and USB Debugging. This usually involves navigating to the “About Phone” section in your device’s settings and repeatedly tapping the “Build Number” until Developer Options are activated. Within Developer Options, enable USB Debugging. This allows your computer to communicate with your device during the unlocking process.
Verify device compatibility with your intended unlocking method. Different manufacturers have specific procedures and tools. Researching your device model is essential to ensure you follow the correct steps and avoid potential complications.
Finally, charge your device fully or ensure it has a substantial charge. The unlocking process can consume significant power, and an interruption due to a low battery can have adverse effects.
Step-by-Step Unlocking Process
The unlocking process varies slightly between manufacturers, but the general steps remain consistent. Always refer to your device manufacturer’s official instructions for the most accurate procedure.
Enabling Developer Options and OEM Unlocking
First, enable Developer Options in your Android settings (typically by tapping the Build Number repeatedly). Within Developer Options, enable OEM Unlocking. This allows the bootloader to be unlocked.
Connecting Your Device to Your Computer
Connect your Android device to your computer via USB. Ensure you have the necessary USB drivers installed. You’ll likely interact with your device through a command-line interface.
Booting into Fastboot Mode
Boot your device into Fastboot Mode. This is usually done by holding a combination of buttons while powering on. Refer to your device’s specific instructions for the correct button combination.
Unlocking the Bootloader with Fastboot Commands
Using the command-line interface on your computer, execute the fastboot command specific to your device to unlock the bootloader. A common command is fastboot oem unlock. Some manufacturers may require a unique unlock code.
Confirming the Unlock on Your Device
Your device will display a confirmation screen. Use the volume buttons to navigate and the power button to select the option to unlock the bootloader. Note: this will erase all data on your device.
Common Issues During Unlocking and How to Resolve Them
Unlocking your bootloader can sometimes encounter unexpected issues. This section outlines common problems and their solutions.
Driver Issues
Problem: Your computer doesn’t recognize your Android device in fastboot mode. Solution: Ensure you have the correct USB drivers installed for your specific device. Consult your manufacturer’s website for the appropriate drivers.
Command Errors
Problem: You receive error messages when executing fastboot commands. Solution: Double-check the command syntax. Ensure your device is properly connected and in fastboot mode. Verify the command is supported by your device’s bootloader.
Device Not Recognized in Fastboot
Problem: Your device appears connected via USB, but fastboot commands return “waiting for device.” Solution: Try a different USB cable and port. Ensure USB debugging and OEM unlocking are enabled in developer options.
Bootloop After Unlocking
Problem: Your device enters a bootloop (continuously restarts) after unlocking. Solution: This often indicates the need to install a custom recovery or a new ROM. Research solutions specific to your device model on reputable forums.
Installing Custom ROMs and Recoveries
After unlocking your bootloader, you can install a custom recovery and then a custom ROM. A custom recovery is a modified recovery environment that replaces your stock recovery. It provides more advanced options, such as installing custom ROMs and creating backups. A custom ROM is a modified version of Android, offering various features, performance enhancements, and customization options not found in stock Android.
First, download a compatible custom recovery for your device. Popular options include Team Win Recovery Project (TWRP) and ClockworkMod Recovery (CWM). Once downloaded, boot your device into fastboot mode. Use the command fastboot flash recovery [recovery_image.img], replacing [recovery_image.img] with the name of your recovery file. After flashing, reboot into recovery.
Next, download a custom ROM of your choice. Place the ROM ZIP file onto your device’s internal storage or SD card. From within the custom recovery, back up your current system. This crucial step allows you to restore your device if any issues arise. Then, navigate to the “Install” option, locate the ROM ZIP, and confirm the installation. Once complete, reboot your device. The first boot after flashing a new ROM can take longer than usual, so be patient.
Reverting to Stock Bootloader
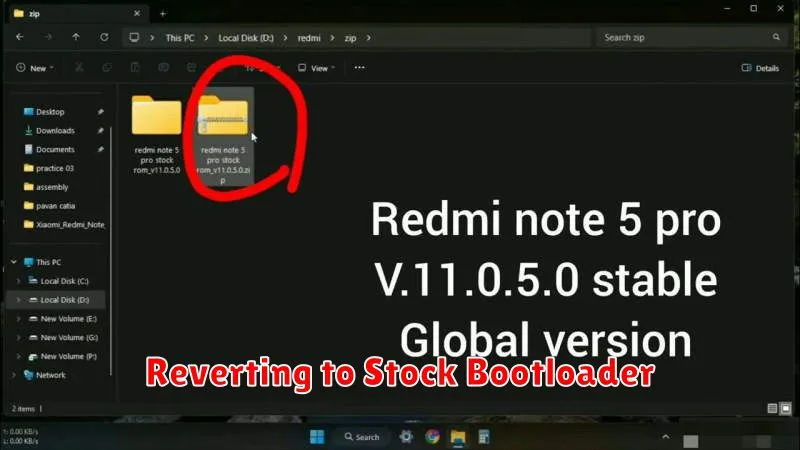
Reverting to your stock bootloader, also known as re-locking, can be necessary for warranty claims, device stability, or official software updates. This process generally involves using platform-specific tools and commands, and it’s crucial to follow device-specific instructions precisely.
Important Considerations: Re-locking the bootloader often erases all data on your device. Back up any important files before proceeding.
General Steps (Device-Specific Variations Exist)
- Obtain Stock Firmware: Download the correct factory image or stock firmware for your specific Android device model from the manufacturer’s website.
- Install Necessary Drivers: Ensure you have the appropriate USB drivers for your device installed on your computer.
- Utilize Flashing Tools: Use the manufacturer’s provided flashing tool (e.g., Odin for Samsung, MiFlash for Xiaomi) or the Android Debug Bridge (ADB) and Fastboot utilities.
- Enter Flash Mode: Boot your device into flash mode or fastboot mode, typically by holding a combination of buttons during startup.
- Execute Flashing Command: Carefully execute the appropriate command to flash the stock bootloader and firmware onto your device.
Caution: Incorrectly flashing firmware can permanently damage your device. Consult official guides and forums specific to your device model for detailed instructions.
Resources and Tools for Bootloader Unlocking
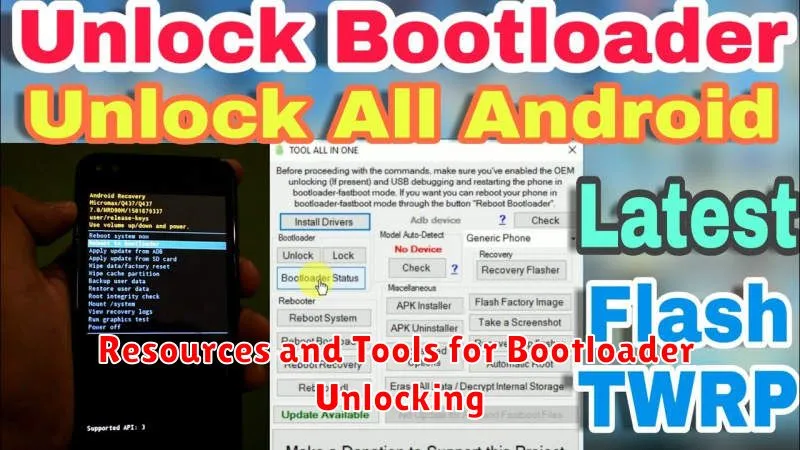
Unlocking your bootloader often requires specific tools and resources depending on your Android device manufacturer. Thorough research is paramount before proceeding. Here’s a general overview of what you might need:
Essential Tools
-
ADB (Android Debug Bridge) and Fastboot: These command-line tools are crucial for communicating with your device. They are typically included in the Android SDK Platform-Tools.
-
Device-Specific Drivers: Ensure your computer can properly communicate with your phone in fastboot mode by installing the necessary USB drivers.
-
OEM Unlock Tool (if applicable): Some manufacturers provide their own unlocking tools. Check your manufacturer’s developer website.
Finding Information
Manufacturer’s Developer Website: This is the primary source for device-specific instructions and downloads. Forum Communities (XDA Developers): Online forums dedicated to Android development are valuable resources for device-specific guides and troubleshooting assistance.